Step 1: Create a Video Wall Display
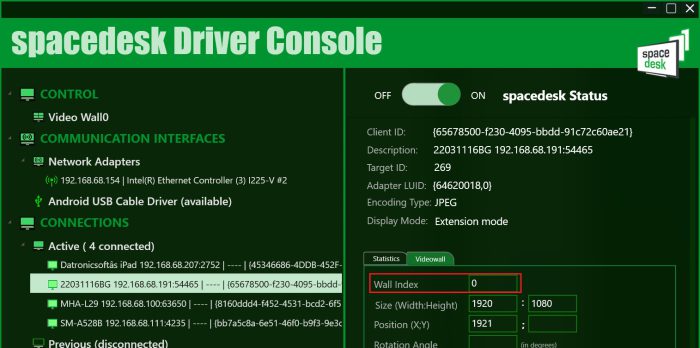
For first time client connection, the display is set as Extension mode.
To create a Video Wall, just assign a value (e.g. 0) in the Wall Index text box of each client display.
Just press the enter key to update the settings and it will automatically plugged a video wall display (e.g. Wall0).

Step 2: Assign multiple clients to Video Wall
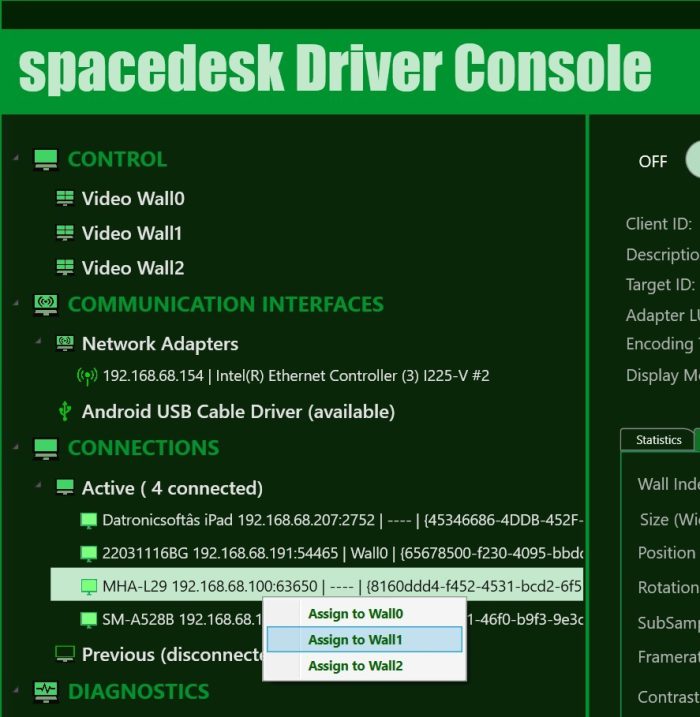
Multiple client display can be assigned to the video wall by assigning it on the Wall Index text box or via right click context menu “Assign to WallX”.
User can also create multiple video walls simultaneously as long as the primary machine’s resources can handle it.

Step 3: Creative Video Wall
Creative video wall involves rotated client displays and/or positioned in a non zero X and Y coordinates.
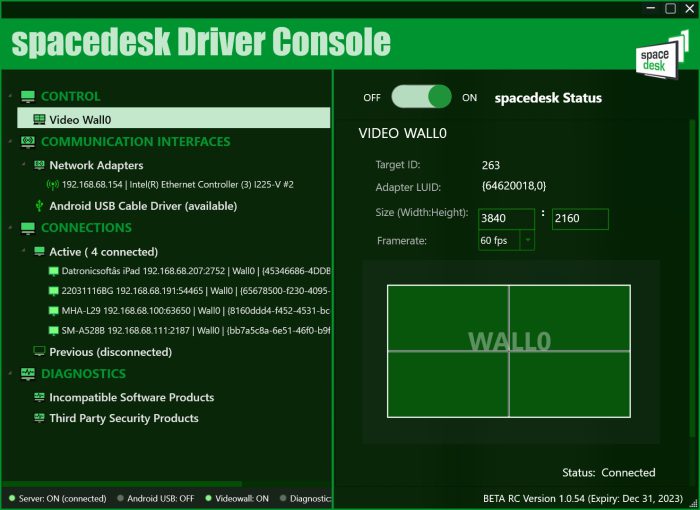
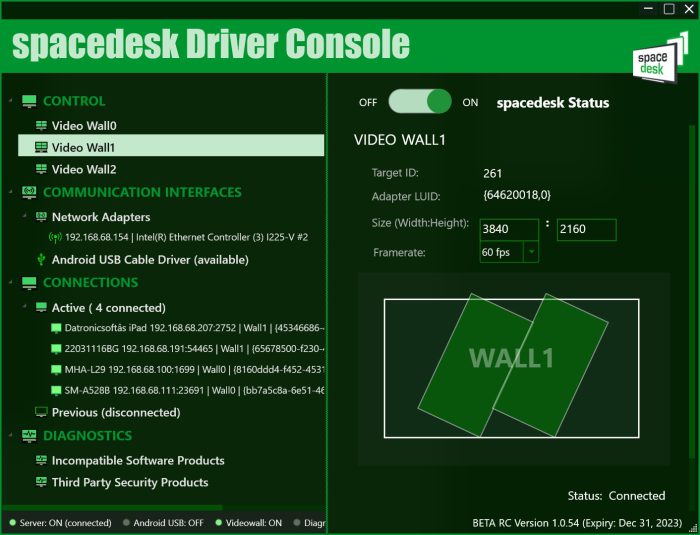
Below are the sample creative video wall settings.
Sample #1: Video Wall0

Sample #2: Video Wall1

Step 4: Mirroring to multiple client displays
This video wall configuration can also be used to mirror/duplicate a desktop screen into multiple client displays, by assigning multiple clients in one video wall with the same X and Y coordinates and just change the video wall’s dimension to the same dimension of the client displays.
